前言
虽然说从事技术开发已经有一段时日了,对一个系统的搭建及部署也有所了解,但确实没有动手实践过。借着这次机会将整个流程走了一遍,因此准备写一篇文章记录这一路踩过的各种坑,并分享给需要的人。本文将梳理一个后台管理系统(Java+SpringBoot+React+antd+nginx+mysql)是如何从开发到部署至云服务器的全流程。
服务端开发
服务端采用SpringBoot+DDD分层架构+mysql作为技术栈,DDD分层架构如下: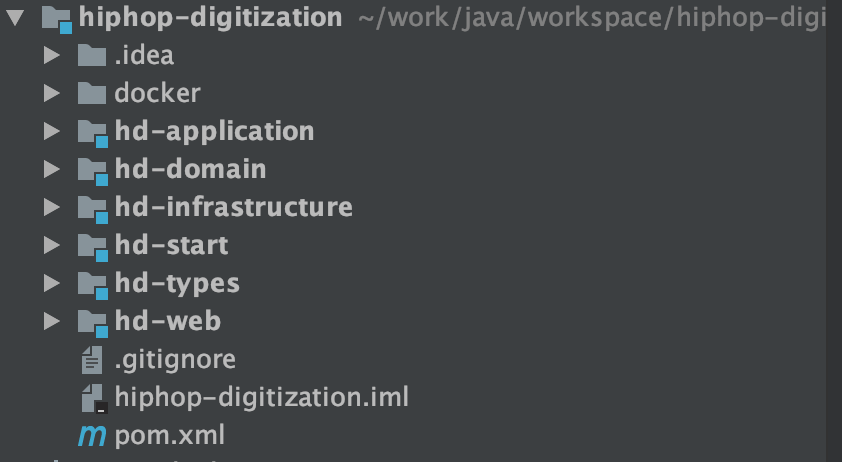
模型构建具体的就不讲了,回头会有专门的文章去分析,主要讲讲如果要在云服务器部署并被前端访问到,要做哪些配置。
允许跨域请求
1 | /** |
集成lombok和mapstruct
集成lombok和mapstruct则需要在父项目中配置两者的编译顺序,否则在修改实体的属性时不会重新生成mapstruct的文件
1 | <plugin> |
简易登录鉴权功能
通过JwtUtil生成token,并在登录后的每个接口中携带这个token来做鉴权校验。
1 | /** |
1 | /** |
1 | /** |
通过maven打包项目,并启动jar
通过maven打SpringBoot的包的话需要指定启动类,这部分配置需要写在start包下的pom中:
1 | <!--spring boot打包的话需要指定一个唯一的入口类--> |
maven打包的话可以在父工程下执行命令:mvn clean package,打完包之后只需要用start包下生成的jar包即为可运行的包
前端开发
前端采用react+antd作为技术栈,笔者对前端的技术掌握不多,而我们做的也只是一个简单的增删改查系统,因此我在giuhub上找到了一个包含了基本功能的react后台管理系统解决方案,这个react框架帮助我快速搭建了前端页面。这里我会记录一些react用法以及踩过的坑,希望能帮助那些后端写前端的同学快速上手。
安装前端开发环境
1 | 安装yarn |
react组件的基本写法
1 | import React, { useEffect, useState } from 'react'; |
前端请求的写法
1 | /** |
请求包装工具类
1 | /** |
react组件中的外传里和里传外
外传里和里传外
1 | <CourseDefinitionList |
1 | <CourseDefinitionList |
安装echarts-for-react
1 | npm install --save echarts-for-react |
云服务器部署
云服务器部署的工具包括jdk+docker+nginx+mysql,这里目前只用docker部署nginx,后续优化的过程中会把后端服务也用docker启动。
安装JDK
1 | 执行以下命令,查看yum源中JDK版本 |
openJDK安装好后的目录位于:/usr/lib/jvm/java-1.8.0-openjdk-1.8.0.55.x86_64
安装docker
1 | 安装Docker的依赖库 |
Docker的默认官方远程仓库是hub.docker.com,由于网络原因,下载一个Docker官方镜像可能会需要很长的时间,甚至下载失败。为此,阿里云容器镜像服务ACR提供了官方的镜像站点,从而加速官方镜像的下载。下面介绍如何使用阿里云镜像仓库。
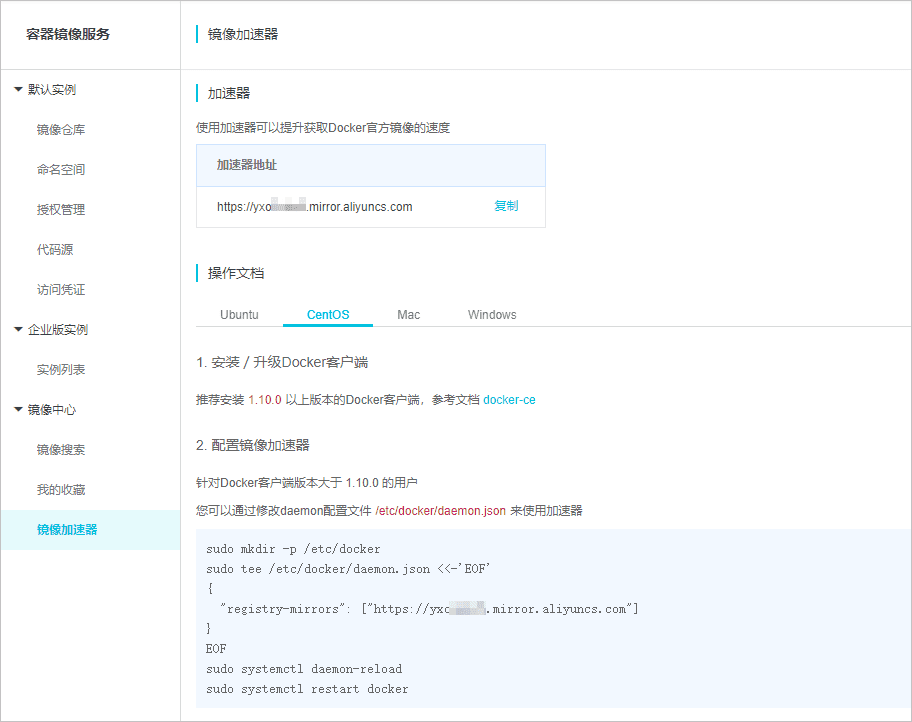
1 | 配置Docker的自定义镜像仓库地址。请将下面命令中的镜像仓库地址https://kqh8****.mirror.aliyuncs.com替换为阿里云为您提供的专属镜像加速地址。 |
安装MySQL数据库
1 | 执行以下命令,下载并安装MySQL官方的Yum Repository |
通过docker启动nginx
先建几个配置文件,用来覆盖镜像容器中的配置文件
1 | 查看Docker镜像仓库中Nginx的可用版本 |
/root/nginx/html配置:
1 | <html> |
/root/nginx/conf/nginx.conf配置:
1 | user nginx; |
/root/nginx/conf.d配置:
1 | server { |
docker容器中安装vim
1 | apt-get install vim |
后端代码部署至服务器并可用的流程
1 | 在父项目下构建jar包 |
前端代码部署至服务器并可用的流程
1 | 先删除云服务器中的front1231 |
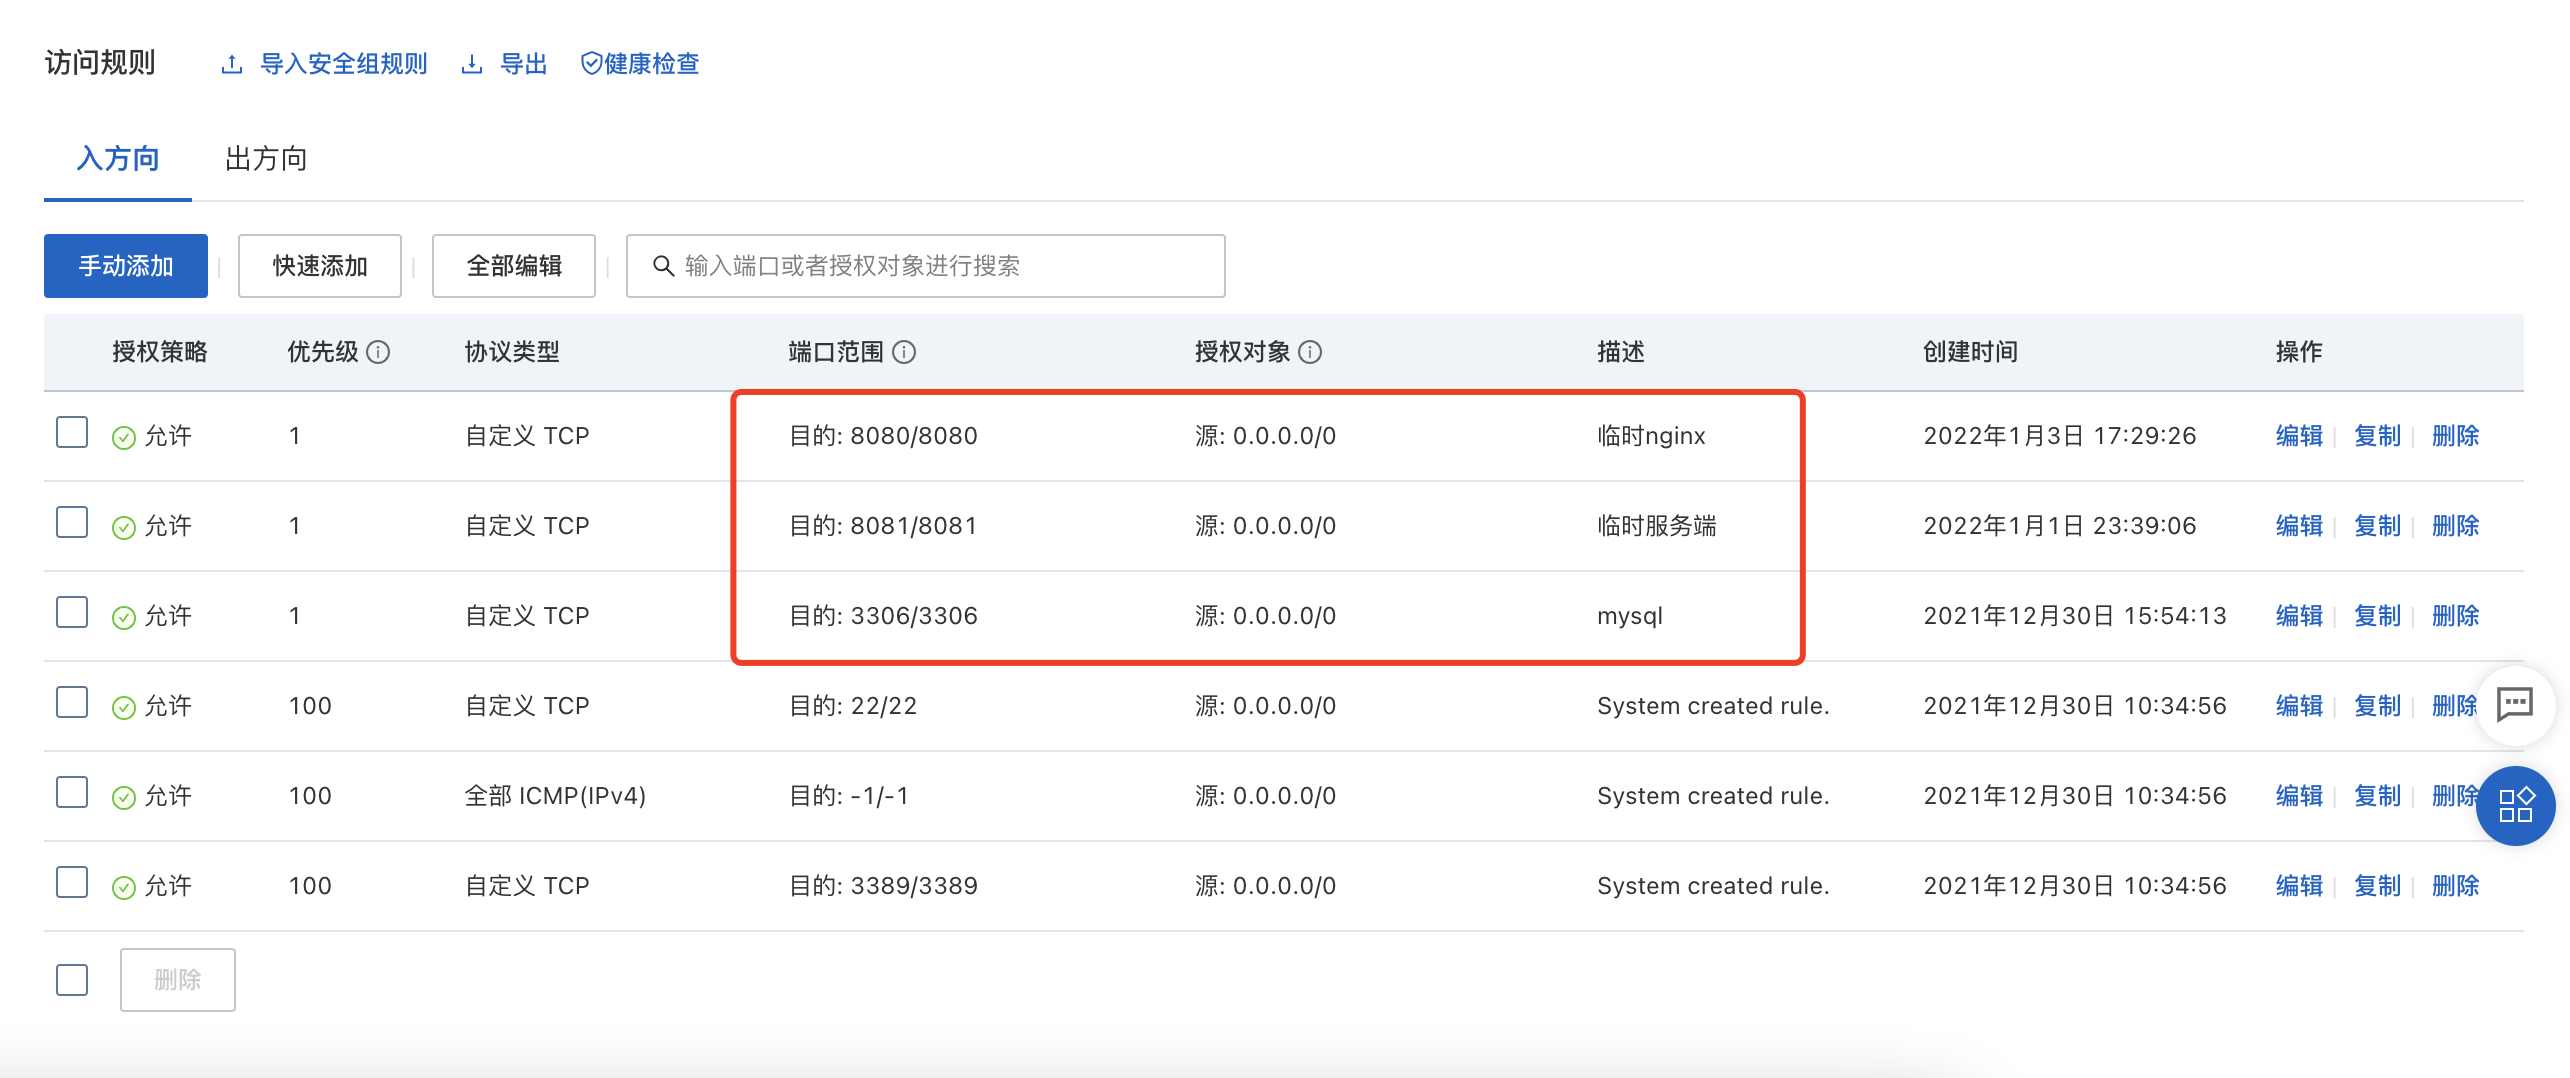
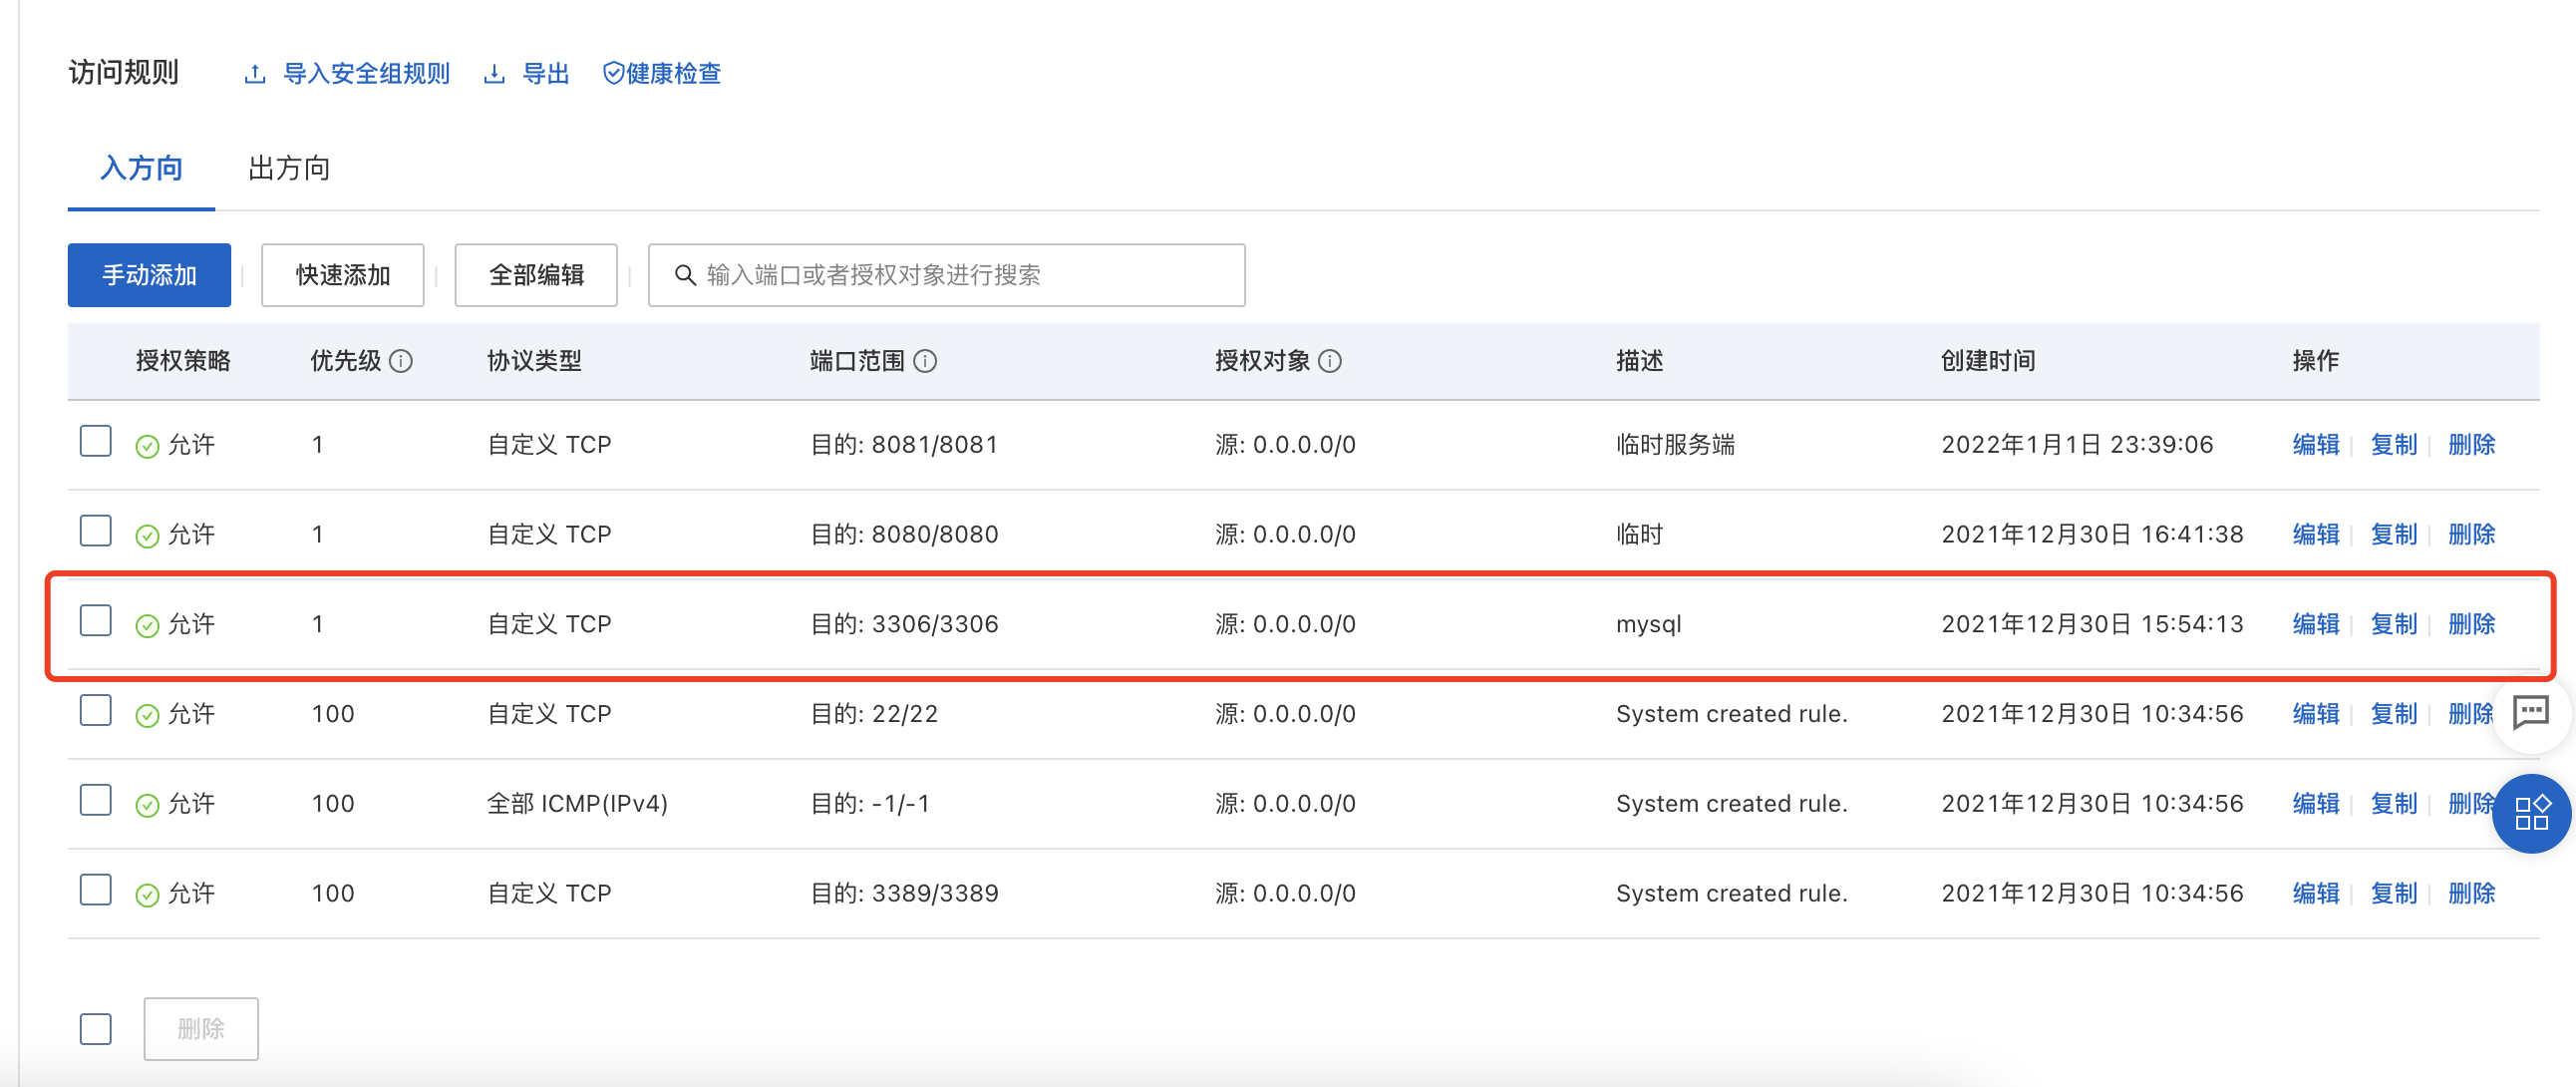
云服务器开放的安全组的端口规则
- 8080:nginx端口
- 8081:后端服务端口
- 3306:mysql端口供远程访问数据库
踩坑记录
java -jar 找不到或无法加载主类
问题描述:springboot + maven 打包成jar包后,使用java jar命令启动jar包时,报错:找不到或无法加载主类
解决办法:需要在pom文件中使用相应的springboot maven 打包插件,并且指定相应的启动类,即mainClass。如下:
1 | <build> |
云服务器上的mysql无法远程连接
问题描述:远程服务器安装了mysql服务并且启动成功,在本地可以进行自由的访问和更新等操作,而远程通过工具连接该mysql数据库会报Host ‘xxx.xxx.xxx.xxx’(本地ip) is not allowed to connect to this MySQL server 的错误
解决办法:
1、配置mysql可远程登录
1 | 通过命令登录数据库 |
2、云服务器开放安全组的端口
echarts版本升级之后报错
问题描述:react使用的echarts版本从4.x.x升级到5.x.x之后启动项目报错:’echarts’ does not contain a default export (imported as ‘echarts’).
解决办法:把import方式 改成:var echarts = require(‘echarts’)
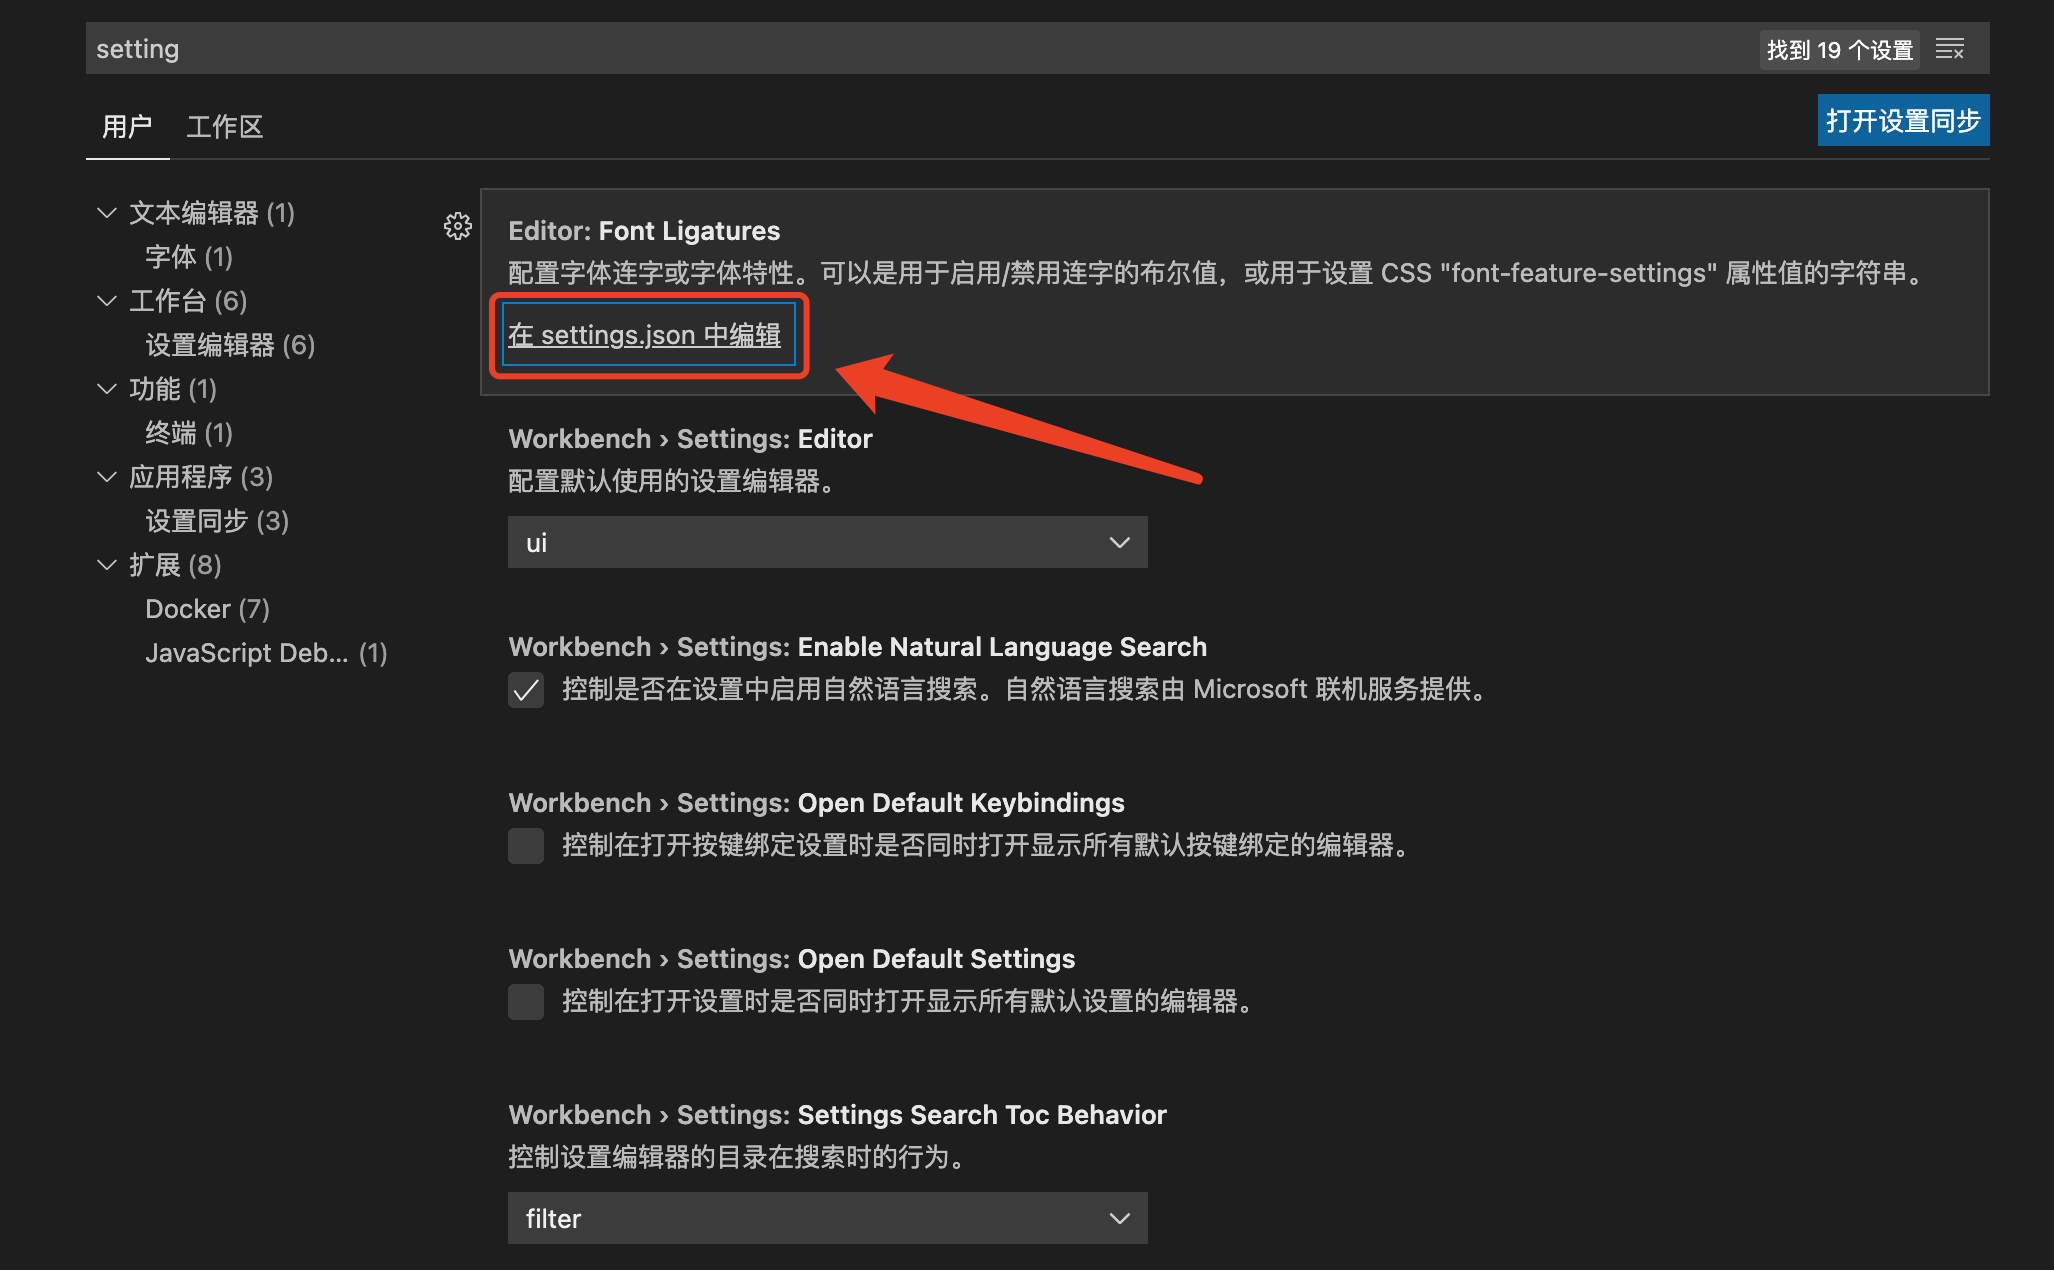
Visual Studio Code的TypeScript语法校验失效
问题描述:在升级npm各种包之后,打开vs code发现右下角频繁报错:“The typescript language service has been aborted 5 times since it was started. The service will not be restarted.”/“TypeScript 语言服务在其启动后已中止 5 次。将不会重启该服务。
解决办法:打开vs code的设置页面,找到setting.json文件,并在文件中加上"typescript.tsdk": "node_modules/typescript/lib"即可重新生效TypeScript语法校验;
在云服务器中通过jar包方式连接mysql连不上
问题描述:在云服务器中通过jar包方式连接mysql连不上,报错:javax.net.ssl.SSLHandshakeException: No appropriate protocol (protocol is disabled or cipher suites are inappropriate),但是通过命令可以连上
解决办法:网上找了很多文章,有的说tomcat依赖包冲突,有的说这个文件要改\jre\lib\security\java.security,经过测试都没有用。多次失败后我发现可能和连接 mysql 有关系,最后在application.properties中的数据库连接配置添加useSSL=false即可连通,整体连接配置如下:
1 | spring.datasource.url=jdbc:mysql://localhost:3306/xxx?useUnicode=true&characterEncoding=utf-8&useSSL=false |
vi字符串检索(查找)命令
问题描述:如何在vi的某个文本中查找内容
解决办法:/ 命令(输入/+string,回车后即可定位查找)
cat & grep 在文本内查找关键词
问题描述:如何在linux系统下对某个文件内容查找关键词
解决办法:
1 | 显示关键词所在行 |
前端资源访问慢的问题
问题描述:通过nginx访问前端资源加载慢
解决办法:在nginx中配置缓存
1、配置gzip压缩
1 | #前面有很多,不关注多余的 |
2、配置cache缓存
1 | location /api { |
antd在yarn start后报错
问题描述:升级antd4后运行构建命令报错less问题

1 | /* stylelint-disable-next-line function-calc-no-invalid */ |
解决办法:是因为less和less-loader的版本不兼容问题,参考https://github.com/ant-design/ant-design/issues/23125,执行如下命令
1 | 要删除旧的npm包,再用cmd以管理员权限重新安装一次 |